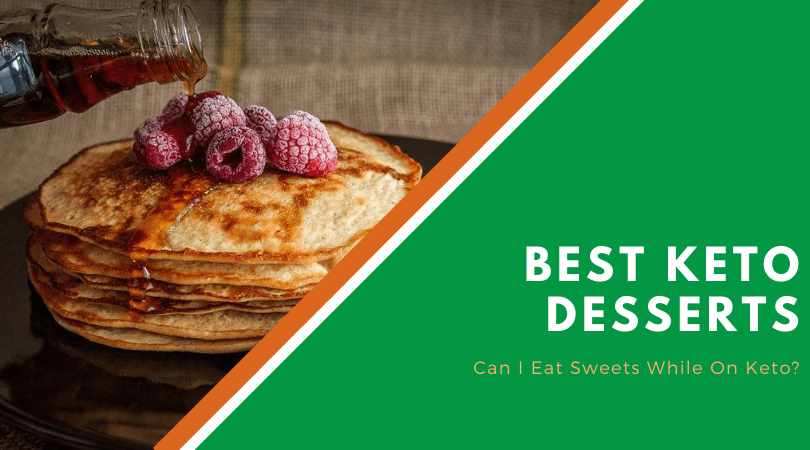
It’s time to set the record straight and do a little myth-busting; you absolutely should not have to sacrifice your love for sweet treats just because you’re on a diet. You know the phrase ‘you can’t have your cake and eat it too’? Well, it’s time to throw that out completely.
If you’ve decided to go Keto, you might be thinking, ‘how can I possibly satisfy my sweet tooth without going over my carb limit??’
Trust us, we’ve been in the same situation, and it sucks! But don’t worry, we’ve decided to pool our Keto knowledge and experience and help you figure out a way to still treat yourself without breaking your diet.
So, with that on our minds, we set about the task of creating a list of Keto desserts that you can make from the comfort of your own kitchen! All of these desserts are quick and easy to whip up and are guaranteed to be 100% delicious!
What Is the Keto Diet?
The chances are that you already know what the Keto diet is, but on the off chance that you’ve been living in a remote corner of the world for the past few years, we’ll give you a quick run-through.
The Keto diet, put simply, is a low carb, high-fat diet. It puts the focus on limiting your carbohydrates as much as possible.
It keeps your insulin levels nice and low – when your blood sugar doesn’t spike out of control, you’re less likely to get insatiable cravings and overeat. You’re also less likely to accumulate stubborn fat!
Keto-Friendly Swaps
You may we wondering how on earth it’s possible to make some of your favorite desserts and sweet treats safe for a Ketogenic diet, and we wouldn’t blame you if you were just a little bit skeptical.
But I can assure you, hand to my heart, that these are Keto friendly. All these recipes need are some Keto swaps, and we’re going to take you through those now.
Flour
Traditionally, the flour that you’ll be familiar with in baking in wheat flour. This is actually relatively low in nutrients compared to other kinds of flour, meaning it’s not really essential for any kind of healthy diet. It’s also definitely NOT Keto-friendly, so let’s talk about the two biggest and most popular swaps.
Almond Flour
Almond flour is probably the most commonly found swap for regular wheat flour on the market right now. It’s so popular for a good reason – it’s high in protein, which regular flour isn’t.
This means that it’s more likely to keep you feeling satisfied for longer, so you’re less likely to reach for another brownie and creep over your daily calorie allowance.
Almond flour is also high in vitamins and essential minerals, which regular wheat flour lacks so poorly. This makes it a great swap, especially when you factor in the increased fiber.
Coconut Flour
For those of you among the audience who suffer from unfortunate nut allergies, you obviously won’t be able to use almond flour as an alternative to wheat flour. Instead, coconut flour is a great option.
Coconut flour is high in lauric acid, which is a healthy saturated fat. Before you throw your hands up in a panic about the fact that we’re recommending a saturated fat, you should know that lauric acid is actually very important to maintain your skin and the health of your thyroid.
It’s also very high in fiber, which is great for aiding your digestion.
You should note that if you’re planning on using coconut or almond flour, they behave a little differently to regular wheat flour that you may be familiar with already.
Generally speaking, coconut flour is more absorbent than almond flour or wheat flour, meaning that if you decide to use it as a substitute, you may need to adjust the quantities of the other ingredients accordingly as well.

Granulated Sweetener
Now, you have a couple of options out there if you’re substituting for sugar, but we recommend using sugar alcohols. Sugar alcohols are low carb and low-calorie options for sweeteners.
However, they can cause problems for those who have known digestive issues like IBS and SIBO. They can cause excess gas, bloating, and even pain for people with sensitive digestive issues.
If you know that this is an issue you might suffer from, alternatives that you might benefit from using include Monk Fruit Sweetener and Stevia.
Now that we’ve gone through the list let’s get down to business! You’re here for the recipes, so let’s hand them over!
Just in case you’re wondering, we’ve ordered these in terms of how easy they are to make, taking into account how long they take and how many ingredients they require.
We don’t play favorites here, and even if we did, we wouldn’t be able to choose between these desserts!
#1 Ten-Minute Chocolate Mousse
It takes ten minutes, it’s delicious, and best of all, it’s chocolate. What more could you possibly want?!
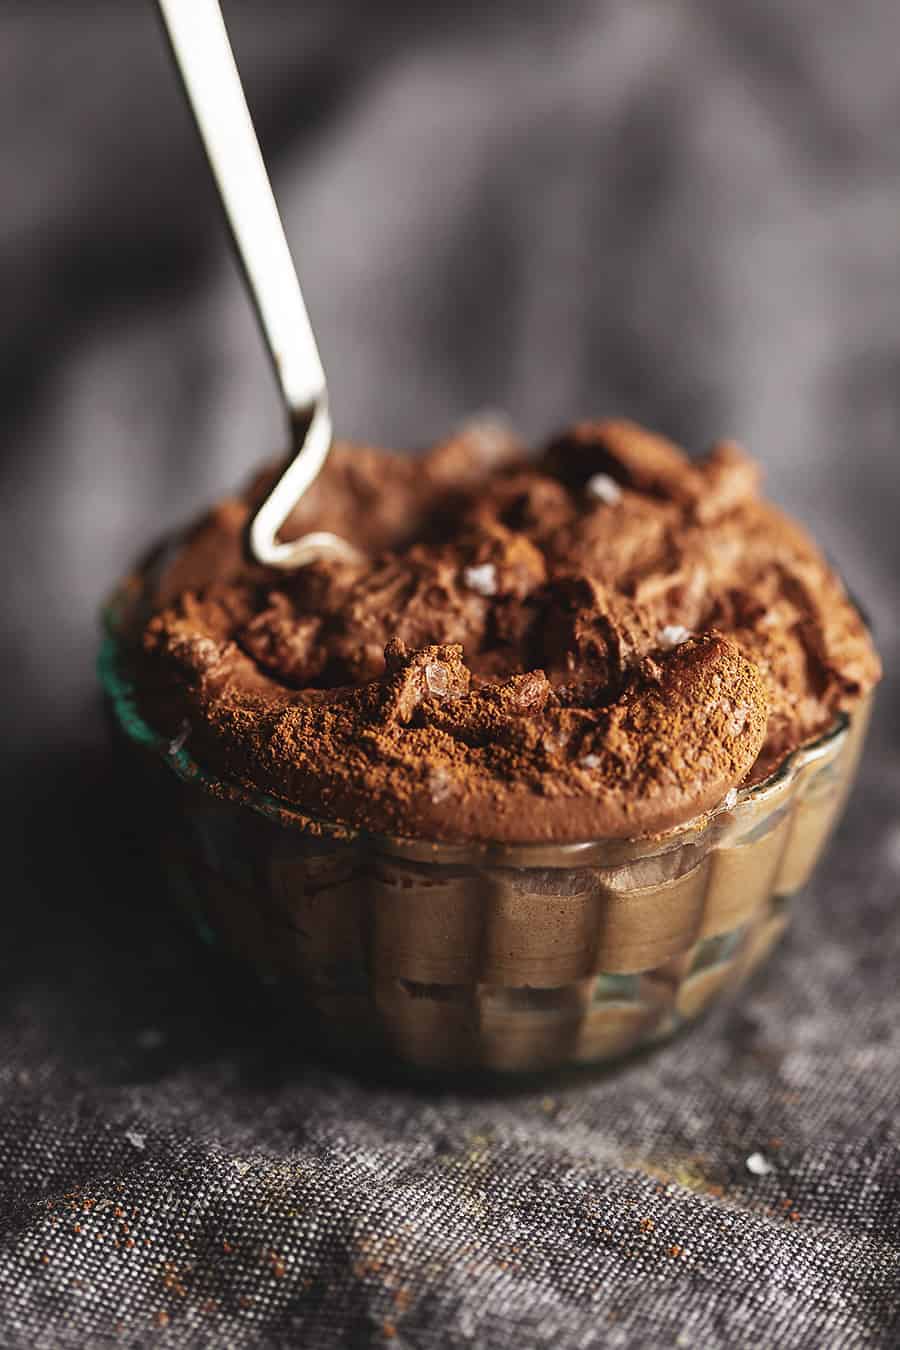
One of the things that makes this so simple is that it only uses a grand total of four ingredients, which means this is something you can probably just whip up (no pun intended) if you have some friends over.
Ingredients (Makes 4 servings)
- 1 cup of whipping cream
- 1 teaspoon of vanilla extract
- ¼ cup of unsweetened cocoa powder (sifted)
- ¼ cup of your favorite powdered sweetener
- ¼ teaspoon of salt
Method:
- Whisp the cream using an electric or hand whisk until you see stiff peaks. It should take a few minutes.
- You’ll know that the cream is almost ready because it’ll begin to feel and look much thicker, and then you’ll soon see peaks start to form!
- Slowly add the cocoa powder, the sweetener, vanilla, and salt.
- Whisk until all ingredients are combined, and serve
Seriously, it’s three steps, that’s it! This dessert is easy to prepare, and you don’t even need to chill it for hours to make it. Because the cream comes straight from the fridge, it’ll be nice and chilled anyway.
#2 Brownies
Brownies are a classic for a reason. They’re easy to make, they’re relatively quick, and they’re delicious.
Plus, you can easily divide them up amongst a group of people, making them a fantastic addition if you’re planning on going to an event and need to bring along a sweet treat!
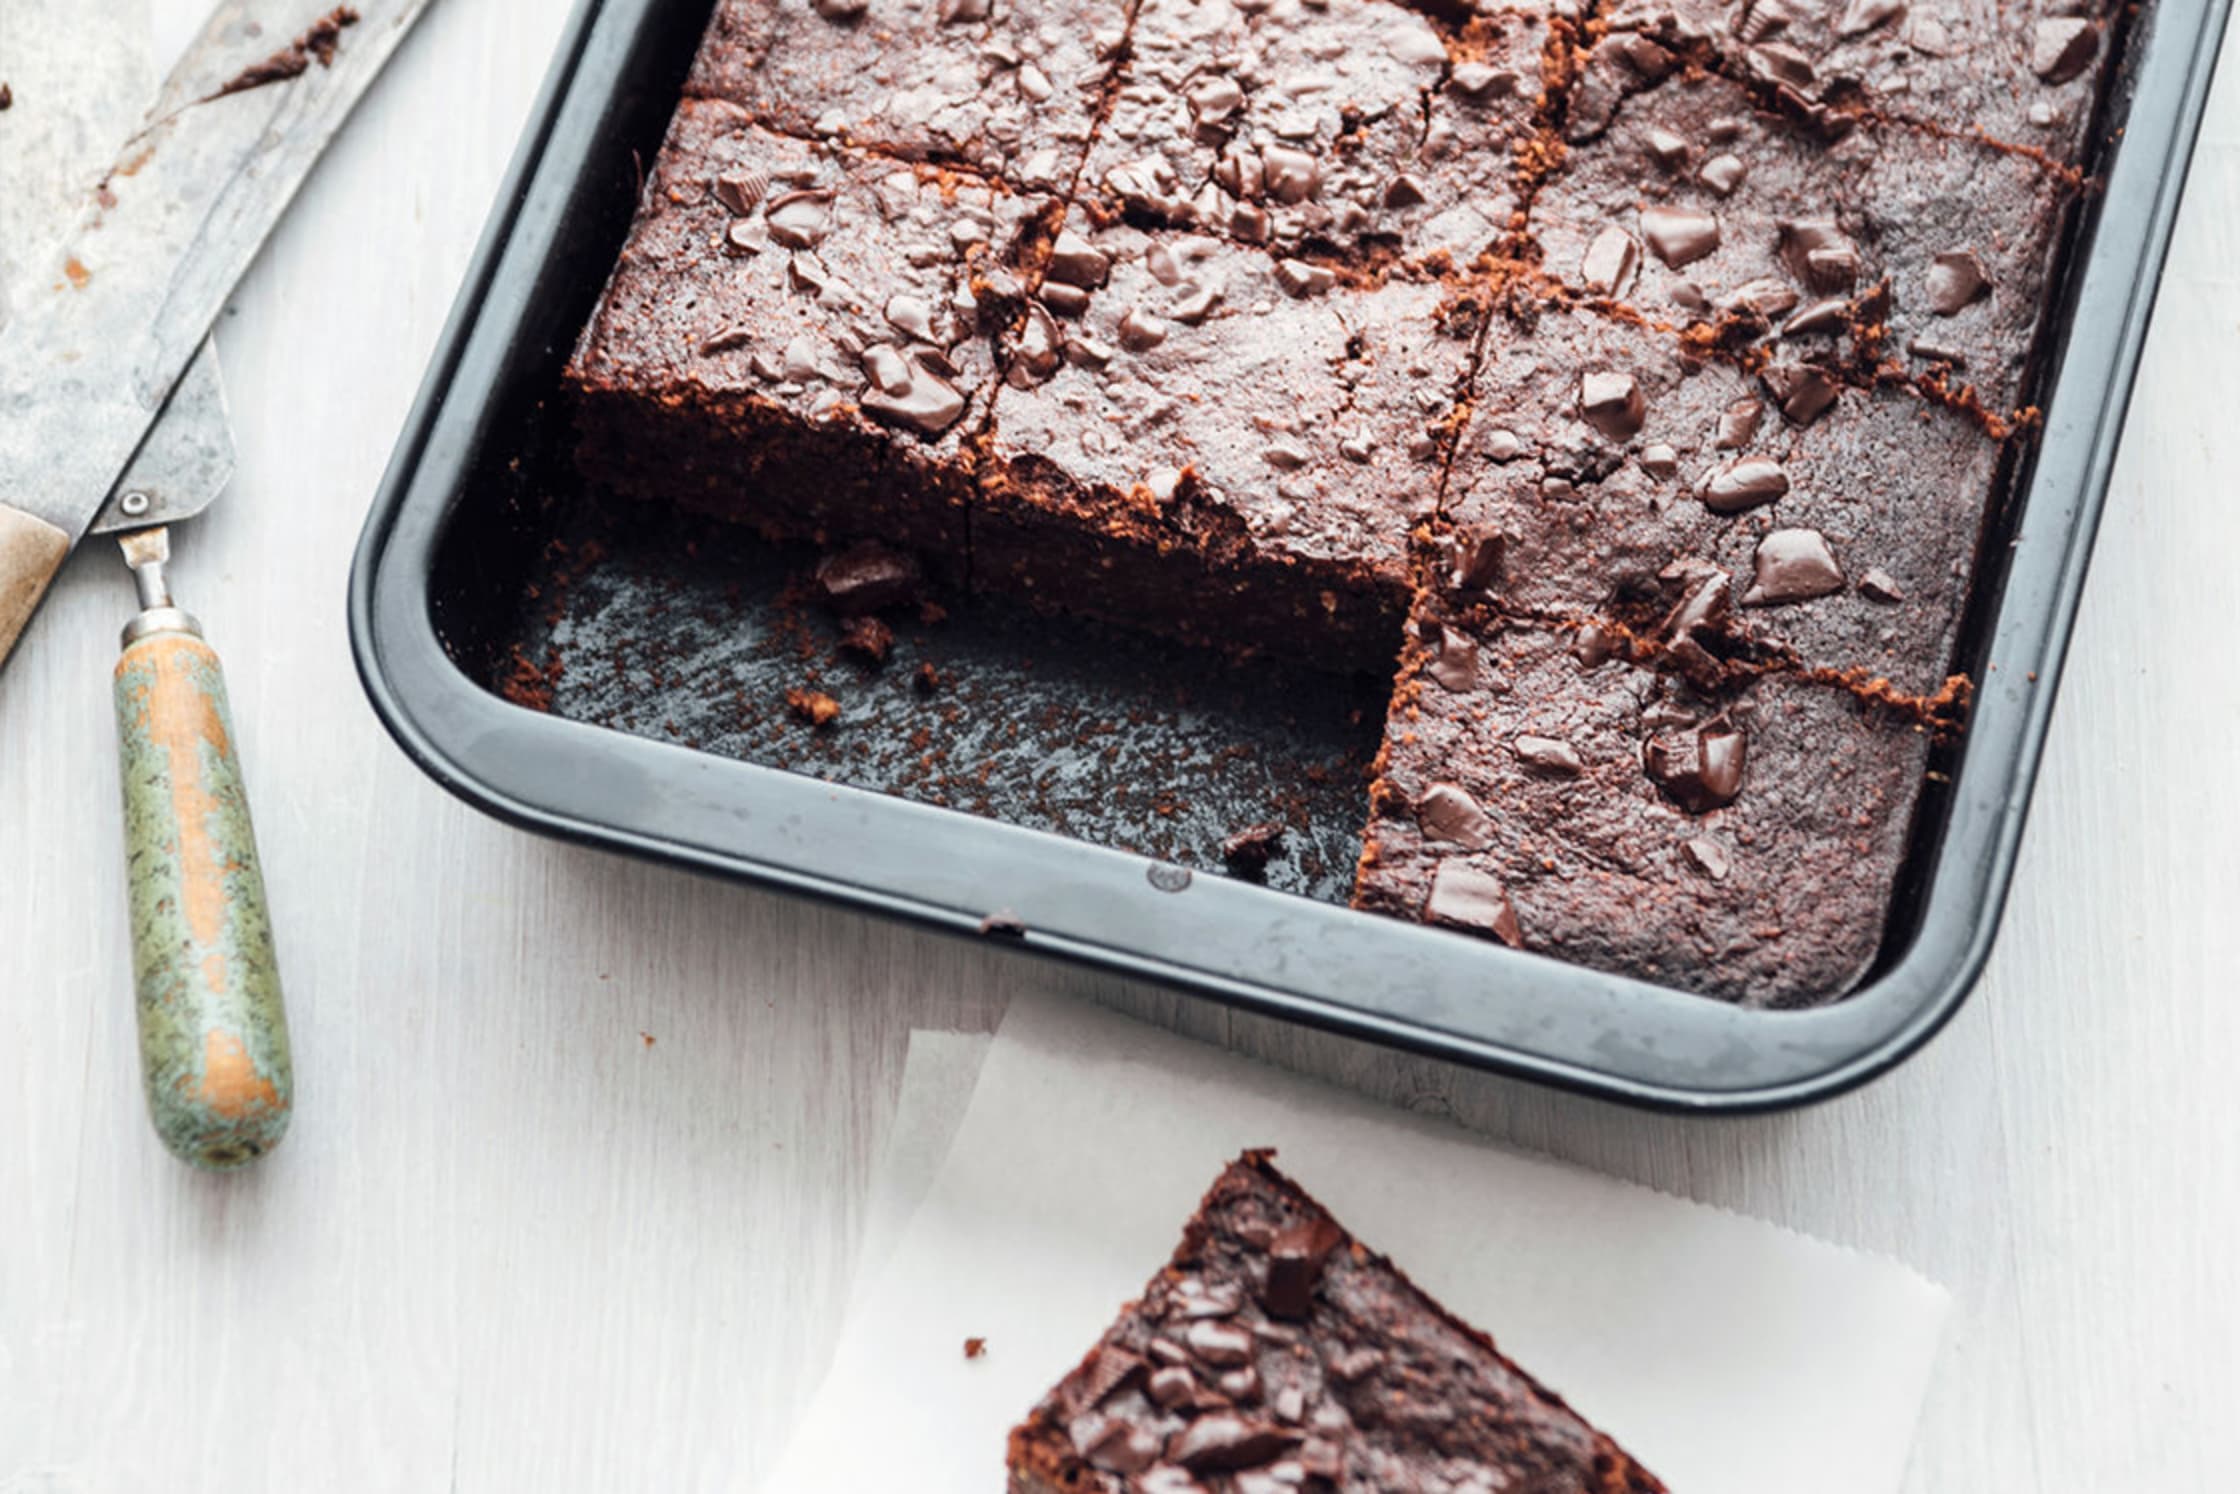
Now, to make brownies even better (if that was even possible!), we bring you – the keto brownie!
Ingredients (Makes 16 Brownies)
- ½ cup of almond flour
- ¾ cup of granulated sugar replacement
- ¾ cup of avocado oil
- 3 large eggs
- ½ teaspoon of vanilla extract.
- ½ teaspoon of baking powder
- ¼ teaspoon of salt
- ½ cup of chopped nuts
Method
- Preheat your oven to 325oF and prepare a 9-inch baking pan – either grease the sides or line it with baking paper
- In a large bowl, whisk the wet ingredients together.
- Slowly add the dry ingredients and whisk until all are combined.
- If using them, stir in the chopped nuts.
- Bake the brownies for about 20 minutes – the brownies should be perfectly set, but the middle should be a little soft. This is the key to getting perfectly gooey brownies. If you prefer them to be a little more cake-like in their texture, give them a little longer (but not too much!)
Let the brownies cool completely in the pan to retain their shape, before cutting them into squares.
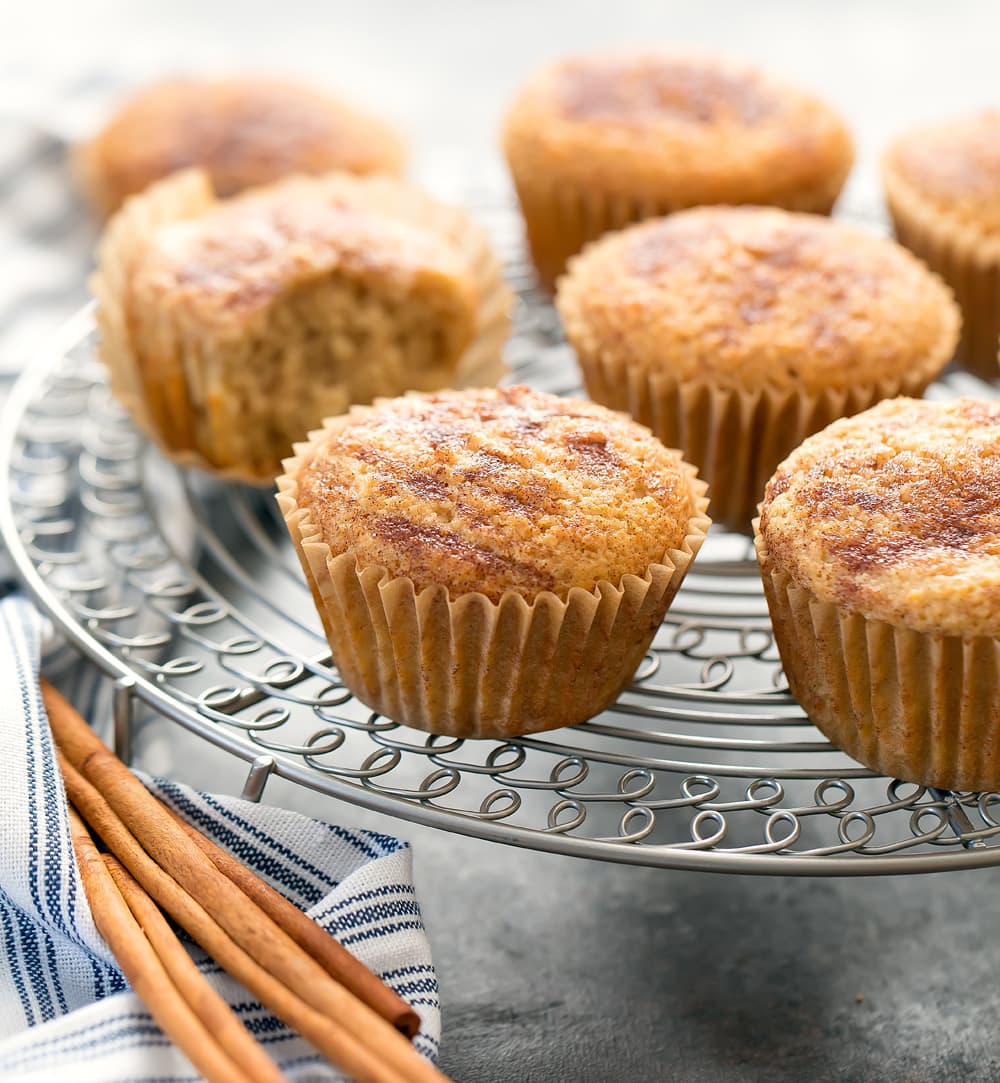
#3 Snickerdoodle Muffins
In my opinion, these are more of a fall treat because of that decadent cinnamon taste, but they can absolutely be enjoyed at any time of the year, don’t worry.
These heavenly mini muffins are quick and easy to make. I personally love them if I know I’ve got some friends coming over for coffee in the afternoon or for dinner.
One of the things I’ve struggled with since going Keto is the social aspect – most sweet treats are off-limits now, so there’s no more cake and coffee for me. Until now, that is!
Ingredients (Makes 12 muffins)
Muffin Batter
- 2 ½ cups of almond flour
- ½ cup of granulated sweetener
- 1tsp of cinnamon (adjust according to taste)
- 2tsp of baking powder
- 3 large eggs
- ½ cup of full-fat sour cream
- 1tsp of vanilla (adjust according to taste)
- 1/3 cup of almond milk
- 1/3 cup of unsalted butter (melted)
Topping
- ¼ tsp of cinnamon
- 1tbsp of granulated sweetener
Instructions
- Preheat the oven to 350oF and line a 12-cup muffin pan with muffin liners
- In a large bowl, combine the dry ingredients together, and then whisk until they are combined
- In a separate bowl, combine the wet ingredients
- Make sure not to have your butter too hot, as this can actually start to cook the eggs, and it can ruin the texture of your cake!
- Make a small hole in the center of the dry ingredients and pour the wet ingredients into it. Whisk the two until a smooth batter has formed
- Using an ice cream scoop or a tablespoon, scoop batter into your pre-prepared muffin tins.
- Take care to only fill your muffin tins about halfway, giving them space to rise in the oven.
- In another bowl, combine the granulated sweetener and cinnamon for the topping, before sprinkling them over the muffins.
- Bake the muffins in the oven for 22-25 minutes
- You’ll know that they’re done because the tops of the muffins should be a lovely golden brown.
- To make sure that they’re cooked the whole way through, stick a skewer through the middle of one of them – if it comes out with batter on it, stick them back in the oven for a few minutes!
- Allow the muffins to cool on a cooling rack before eating them.
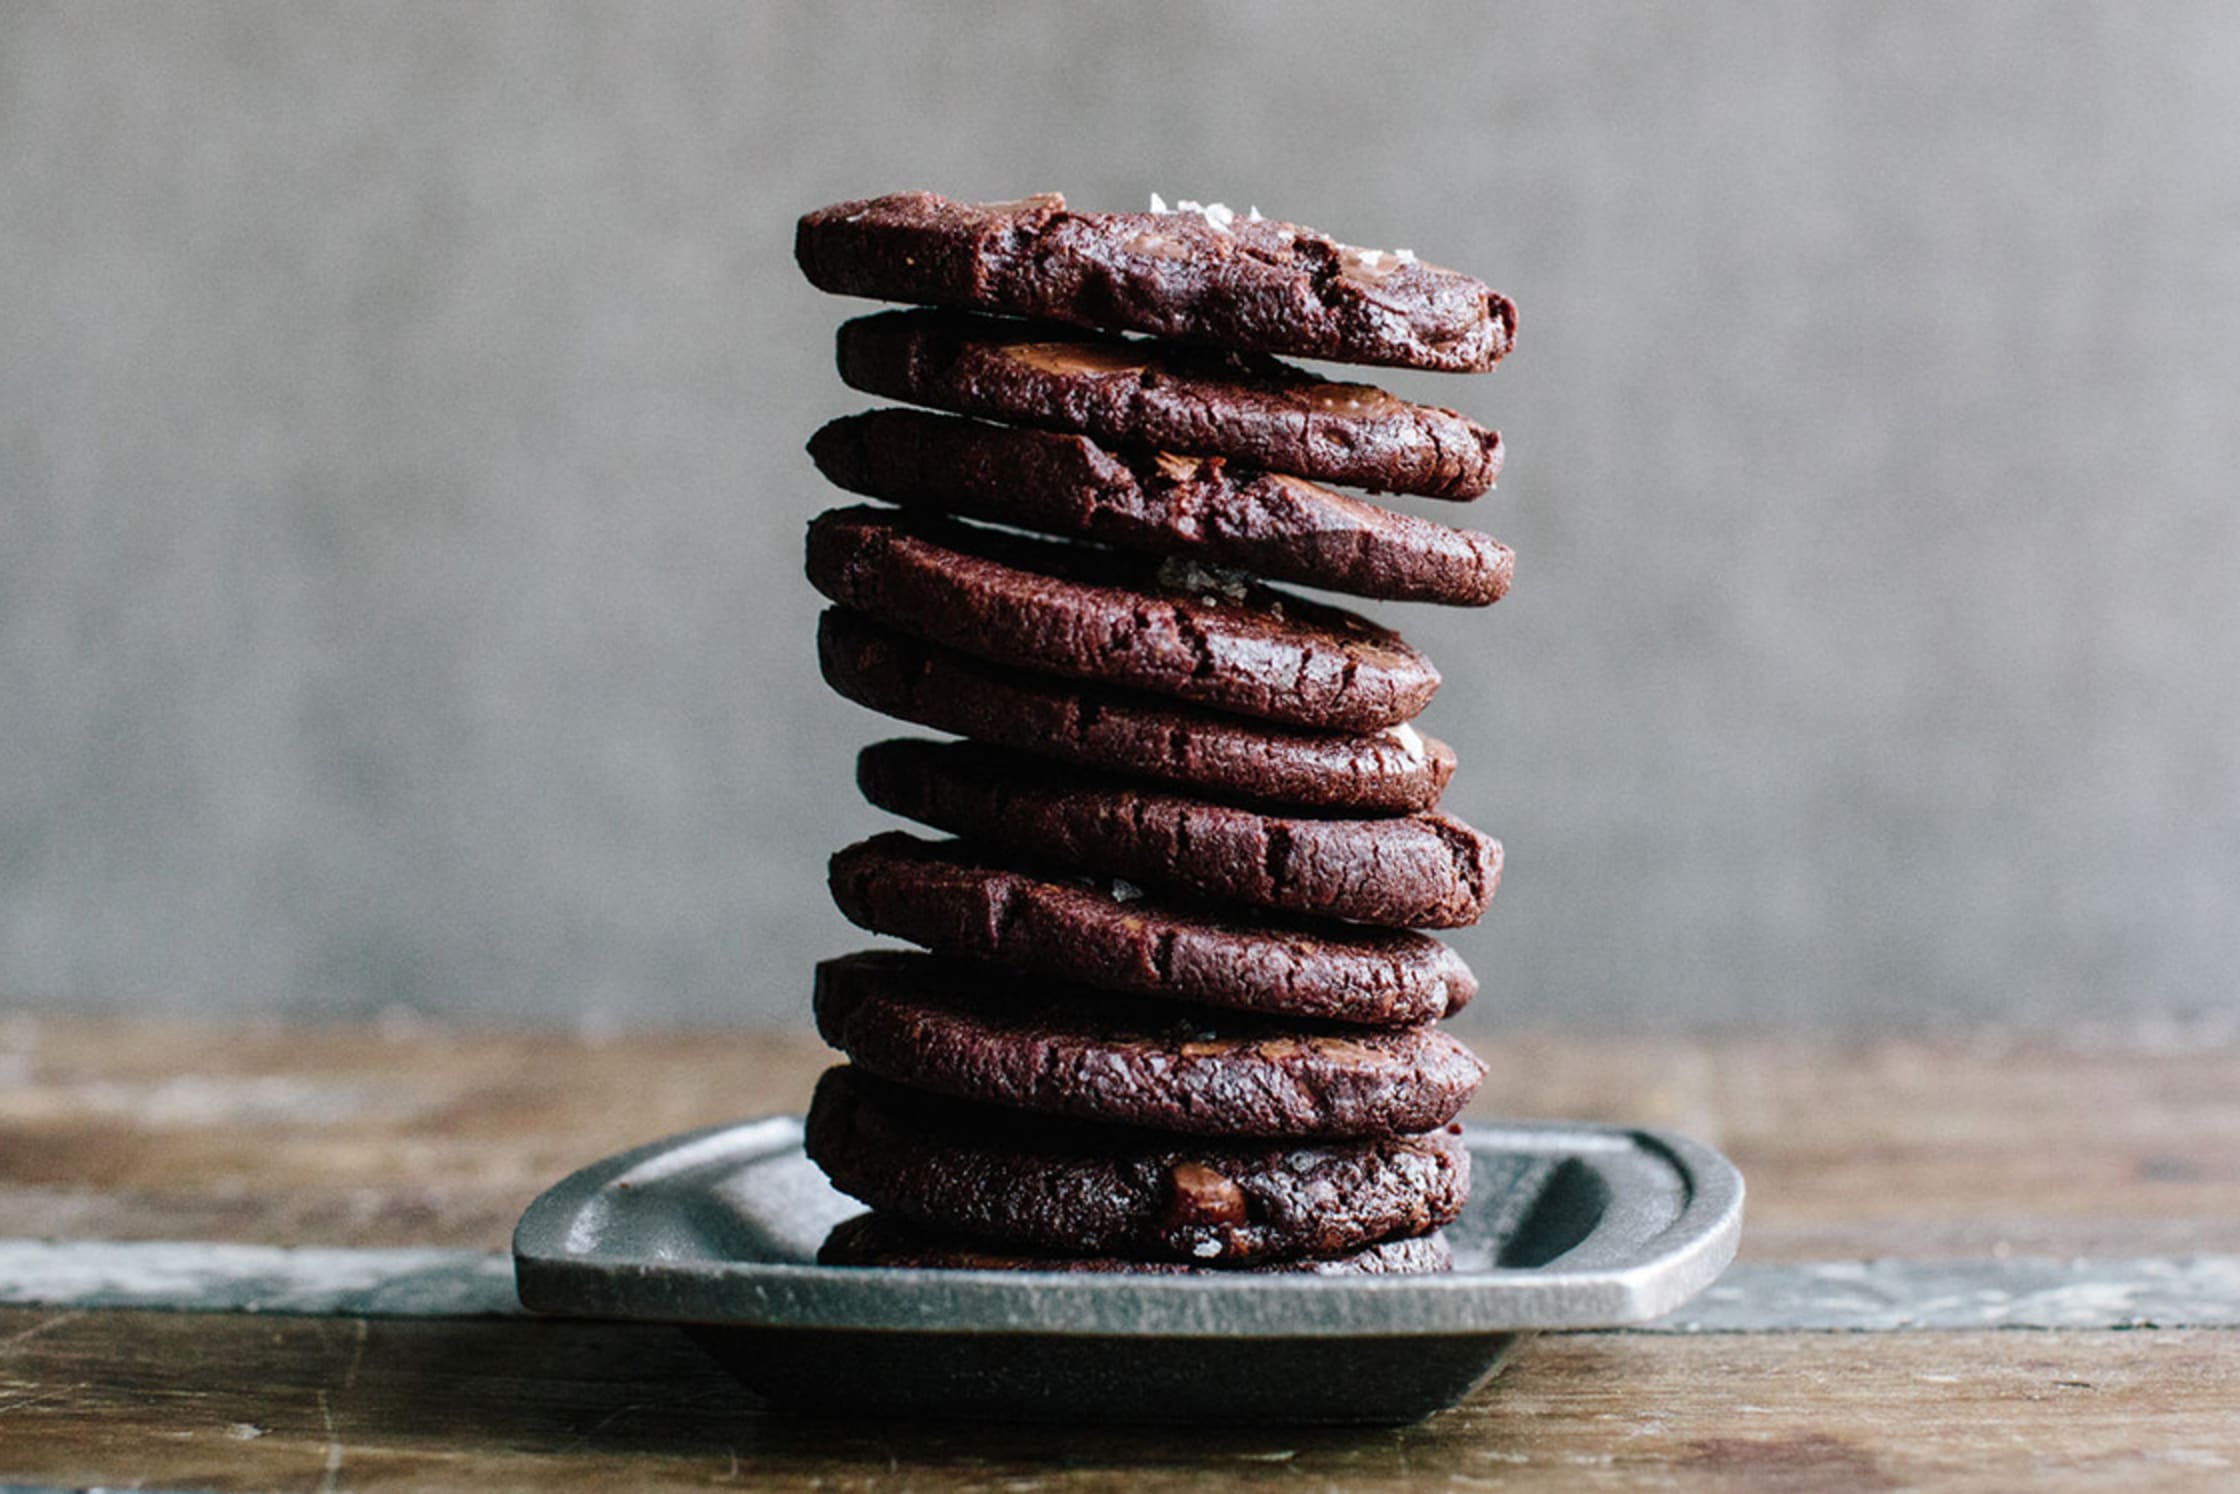
#4 Chewy Double Chocolate Cookies
Ingredients (For 20 cookies)
- ¾ cup + 2 tablespoons of almond flour
- 3 tablespoons of cocoa powder
- ½ stick of unsalted butter (softened)
- ½ stick of almond butter
- ½ cup of granulated sweetener
- 1/3 cup of dark chocolate chunks or chips
- 1 tablespoon of gelatin
- 1 large egg
- ½ teaspoon of vanilla extract
- ½ teaspoon of salt
- ½ teaspoon of baking soda
Method
- Preheat the oven to 350oF and line two baking sheets with silicone baking mats, or baking paper
- In a medium bowl, whisk together the dried ingredients until they’re well combined.
- In a separate large bowl, whisk together the butter and the sweetener until they’re well combined.
- Then add the egg and vanilla extract, and finally add the dry ingredients.
- Within a few minutes, you should have formed a dough – when this happens, stir in the chocolate chips/chunks.
- Roll the dough into 1-inch balls and place them on the baking paper. Make sure to place them a few inches apart, so they don’t stick together during the baking process. Press the dough to flatten them into cookie shapes.
- Bake for about 12 minutes – during this time, the cookies should spread and puff up a little, but they should still be soft to the touch. This is the key to making the cookies chewy! Take them out when they’re still a little soft to the touch, then let them cool completely to give you that lovely chewy texture in the middle while being hard on the outside.
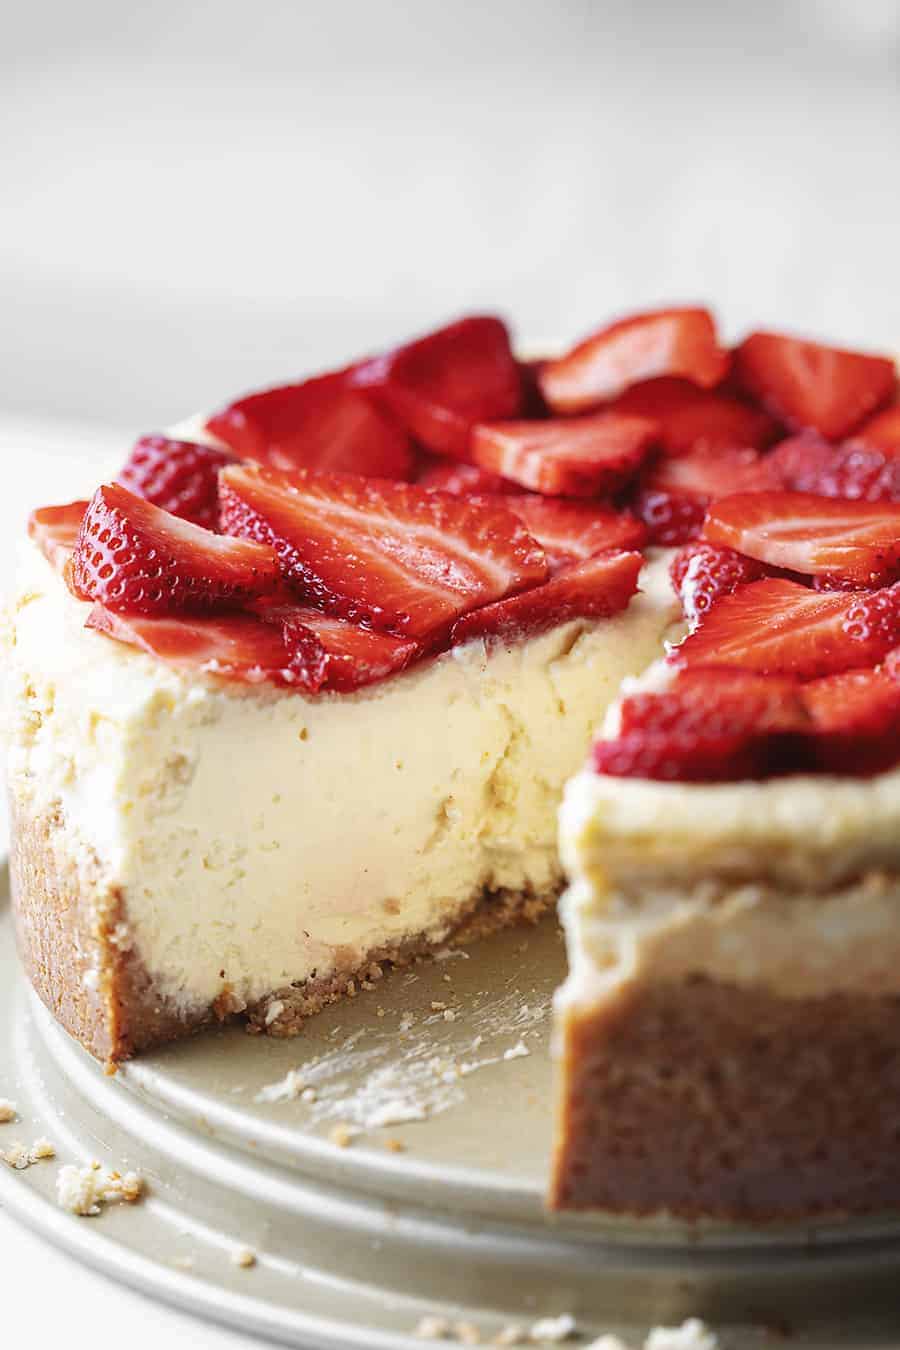
#5 Baked Cheesecake
Now, you may be thinking that a cheesecake should technically already be keto-Friendly, right? Well, the good news is that it basically is Keto-Friendly already! The only changes that need to be made are the sweetener that you decide to use and the way you may your crust.
We know this one will take a little longer than the others to make, but most of that time actually goes into just waiting for it to chill in the fridge. The actual making and baking process doesn’t take that long at all.
A couple of tips for making the best cheesecake that’ll even have your non-keto friends drooling:
- Make sure all of your ingredients are room temperature before you start using them – yes, this includes the cream cheese.
- When it comes to using a mixer, slow and steady is the key. Use a low to medium setting on your whisk to avoid overbeating the ingredients.
- Make sure the sour cream and vanilla are the last ingredients to be added – this stops the sour cream from being overbeaten and having a weird texture.
Ingredients
Crust
- 6 tablespoons of butter (melted)
- ¼ cup of powdered sweetener
- 1 teaspoon of cinnamon
- 1 ½ cups of almond flour
Filling
- 8 ounces of full-fat cream cheese
- 8 ounces of sour cream
- 5 large eggs
- 2 cups of powdered sugar
- 1 tablespoon of vanilla extract
Method
- Preheat your oven to 325F, and prepare a 10 x 4-inch springform pan (grease liberally)
- Combine the dry crust ingredients into a bowl before mixing in the melted butter. Mix these well, before pouring them into a pan. Press the mixture halfway up the sides of the pan, and use a flat-bottomed cup/bowl to press the mixture into the bottom of the pan
- Refrigerate the crust for about 20 minutes. This helps it to set so that it won’t fall apart when you add the wet ingredients.
- In a large bowl, beat the cream cheese (remember, on a low setting) until it’s light and fluffy.
- Add the sweetener slowly and beat it in, then add the eggs one at a time.
- Finally, add the vanilla and sour cream – remember these should only just be mixed in, you don’t want to over mix them.
- Pour the cheesecake mixture into the tin. Bake in the oven on the middle shelf for about fifty minutes (the cheesecake should be jiggly in the middle, but the top of it should be matte)
- Turn off your oven and leave the door open a crack. Let the cheesecake sit in the oven for 30 minutes. When you bring it out, run a knife between the cheesecake and pan to make sure it doesn’t stick, but do not remove the pan.
- Leave it to sit out for an hour to cool before refrigerating it for 8 hours.
Conclusion
Well, I don’t know about you, but doing all of this has made me seriously hungry! You can find more inspiration in our recommended Keto Cookbooks.
One of the important things to remember when you embark on any kind of a diet (including Keto) is that you don’t have to restrict yourself to never eating the foods you love again.
Doing that doesn’t put you in a healthy mindset, and it actually makes you more likely to binge eat and undo all the progress you’ve worked so hard for.
We’re not saying you should be making a cheesecake every couple of days, but you should remember that on any kind of a diet, you shouldn’t be cutting out sweet foods entirely. Giving yourself a little treat every so often (in moderation, of course) helps satisfy that sweet craving, and is good for the soul!
Why not try that theory out with one of these delicious desserts?

